
This is a quick walkthrough on using ASP.NET 5 to build a Web API layer using MongoDB. The overall concept is not too dissimilar from previous examples you may have seen using X type of database, however there are some areas covered that are either new in MVC 6 that you may find you didn't know are there.
Topics Covered
- ConfigurationModel
- config.json
- Environment Variables
- OptionsModel
- Dependency Injection (IServiceCollection)
- Forcing JSON or Removing XML Formatter, Content Negotiation
- MongoDB
- Installation (OSX & Windows)
- mongocsharpdriver (nuget package)
- Testing endpoints w/ Postman or Fiddler
Project Creation
Depending on your environment (Windows or OS X) or preference you have a choice on how you can create the ASP.NET project.
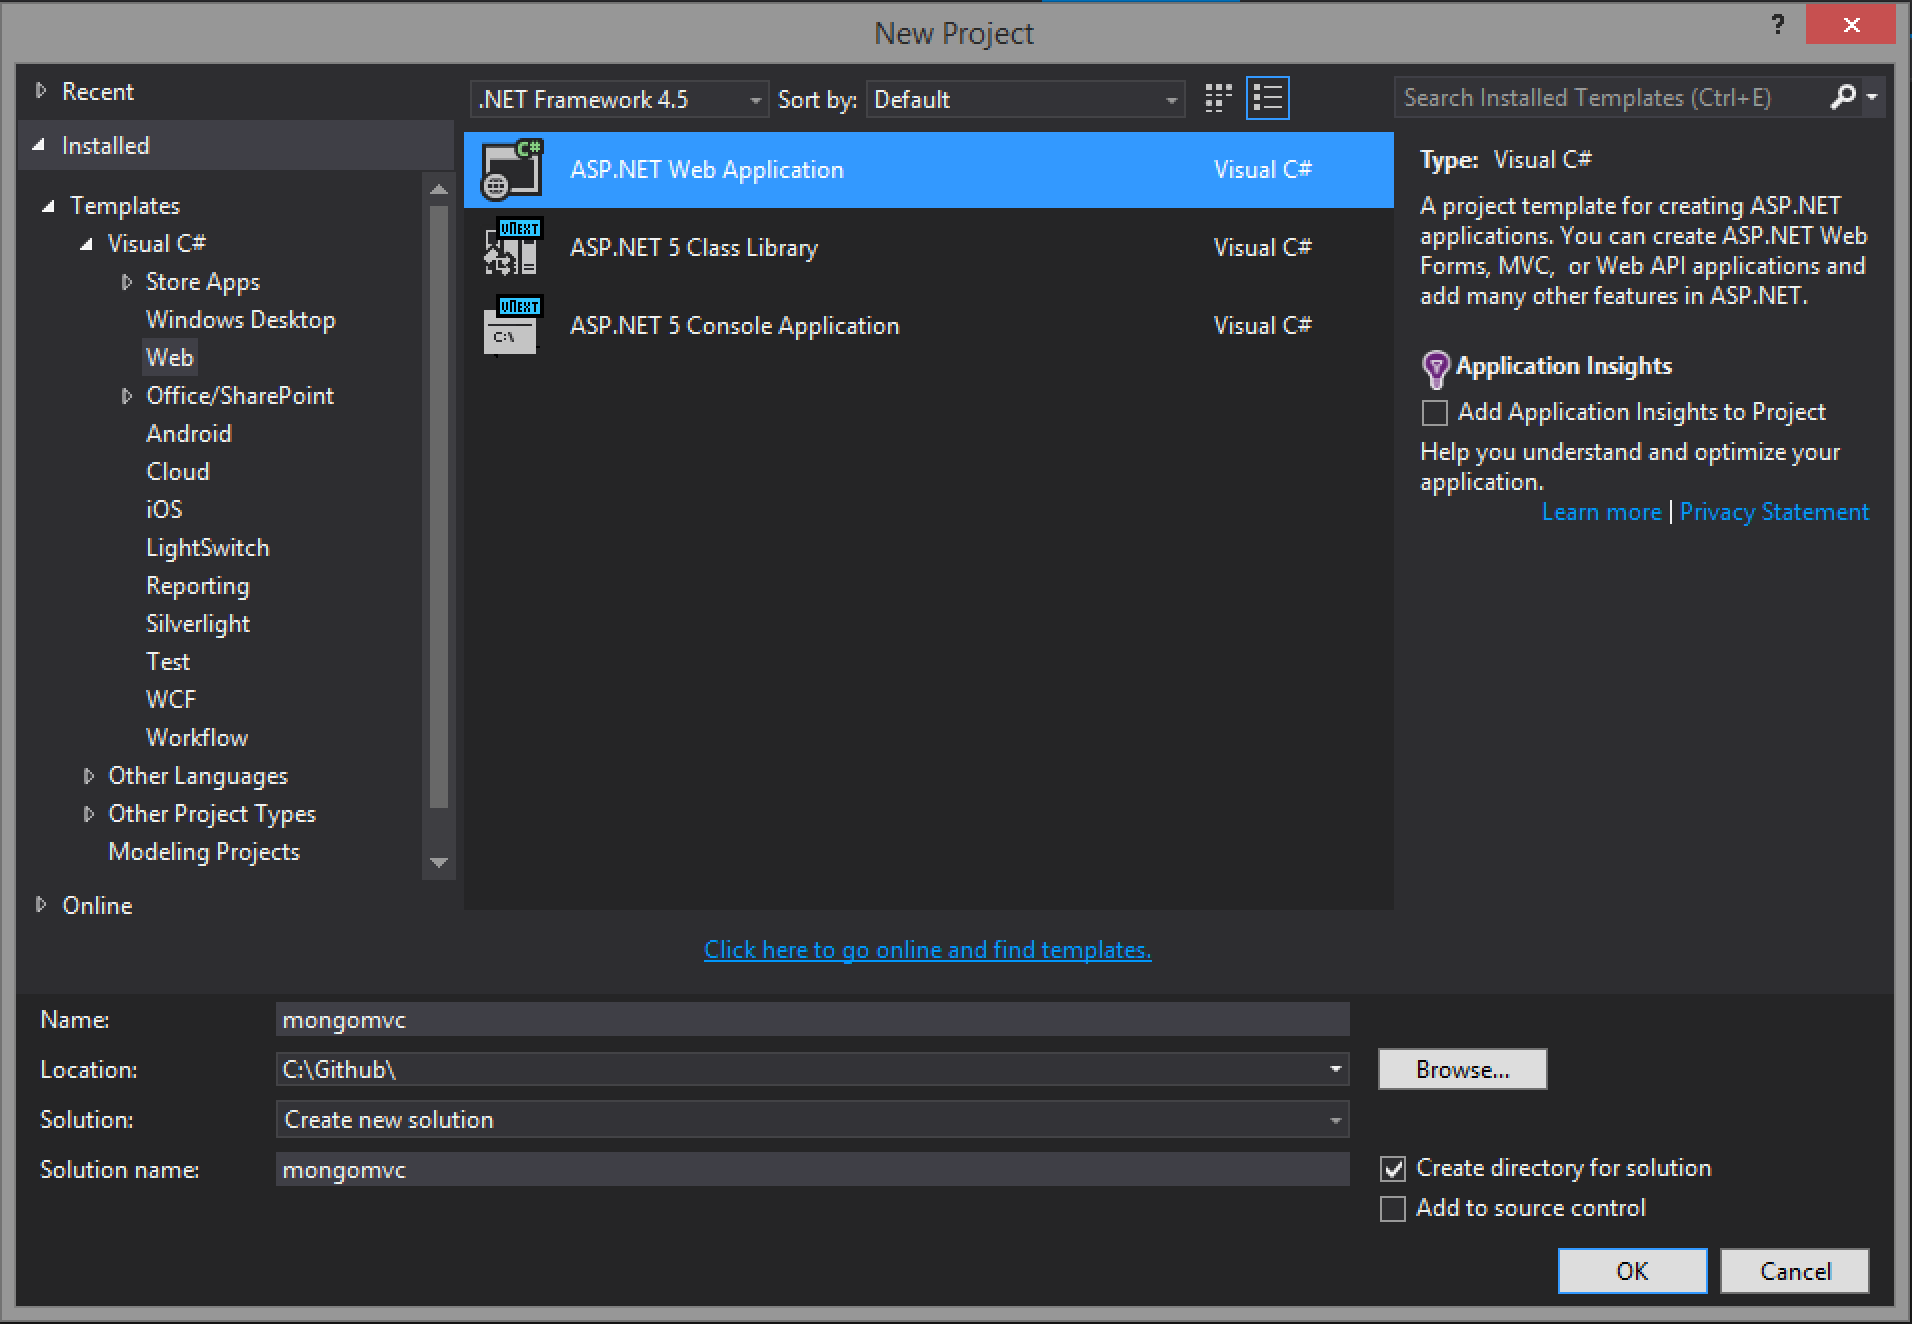
Visual Studio 2015 Preview
Launch Visual Studio 2015 Preview and File > New Project > Web > ASP.NET 5 Empty.
ASP.NET Yeoman Project Generator
(see walkthrough here) - note that the MVC Project is the best choice for this example, there is not an "Empty" template.
$ yo aspnet

     _-----_
    |       |    .--------------------------.
    |--(o)--|    |      Welcome to the      |
   `---------´   |   marvellous ASP.NET 5   |
    ( _´U`_ )    |        generator!        |
    /___A___\    '--------------------------'
     |  ~  |
   __'.___.'__
 ´   `  |° ´ Y `

? What type of application do you want to create? MVC Application
? What's the name of your ASP.NET application? (MvcApplication) mongomvc
Setting up the dependencies
Open the project.json file and add the following to the dependencies node.
"dependencies": {
        "Microsoft.AspNet.Server.IIS":"1.0.0-beta1",
        "Microsoft.AspNet.Mvc": "6.0.0-beta1",
        "Microsoft.AspNet.Hosting": "1.0.0-beta1",
        "Microsoft.AspNet.Diagnostics": "1.0.0-beta1",
        "Microsoft.AspNet.Server.WebListener": "1.0.0-beta1",
        "Microsoft.Framework.ConfigurationModel.Json": "1.0.0-beta1",
        "Kestrel": "1.0.0-beta1",
        "mongocsharpdriver": "1.8.3"
    }
- Microsoft.AspNet.Server.IIS : Server Implemenation for ASP.NET 5
- Microsoft.AspNet.Hosting : Core hosting infrastructure for ASP.NET 5
- Microsoft.AspNet.Diagnostics : Middleware for error pages, diagnostics etc.
- Microsoft.AspNet.Server.WebListener : Self host web server
- Microsoft.AspNet.Mvc : ASP.NET MVC Framework
- Microsoft.Framework.ConfigurationModel.Json : JSON configuration source for the ConfigurationModel
- Kestrel : Server for hosting on OS X, Linux
- mongocsharpdriver : MongoDB Driver
Each of these should be self explanatory with the exception of maybe the ConfigurationModel.Json package, which will be covered when we get into the settings portion of the walkthrough.
Once you save the file, in Visual Studio, the packages will be restored from nuget. If you are using a non Visual Studio editor, then execute kpm restore from the command line to get the packages.
Startup.cs
Startup.cs is the entry point for your application; this is where the configuration, services, dependency injectection etc. is configured.
In the following snippet, the ConfigureServices method is used to add our services into the pipleline and expose the IServiceCollection for dependeny injection. It also sets the Configure method to tell the app which services in the pipeline to use on start.
public class Startup
{
public void ConfigureServices(IServiceCollection services)
{
services.AddMvc();
}
public void Configure(IApplicationBuilder app)
{
app.UseMvc();
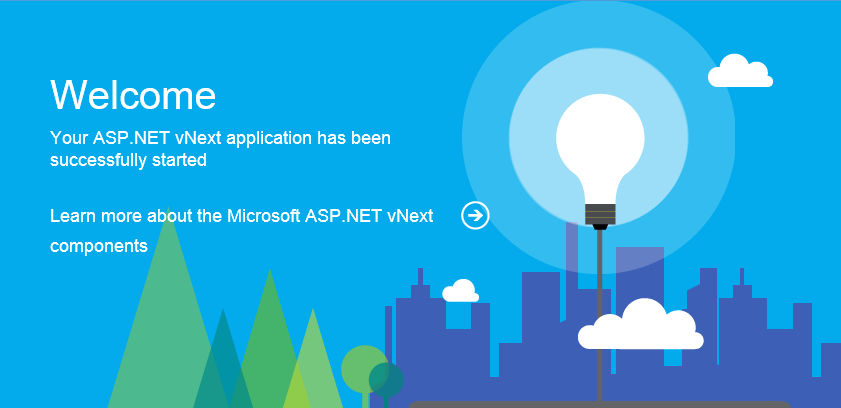
app.UseWelcomePage();
}
}
At this point you can F5 (VS2015), k web (Win) or k kestrel (Linux or OSX) to run the app and see the Welcome Page.
Let's add a few items to this to round out the bootstrapping of the application.
Remove XML Formatters - if you have done any ASP.NET Web API development in the past, the format of the output is dependant on the Content-Type header that is passed when a GET request is made. By default the response type will be JSON, however if the client send application/xml that is what will be returned. You can force JSON results for all returns by adding the following to the ConfigureServices() method:
 services.Configure<MvcOptions>(options =>
                                     options
                                     .OutputFormatters
                                     .RemoveAll(formatter => formatter.Instance is XmlDataContractSerializerOutputFormatter)
                                           );
If you wish to control this at a more finite level, please see Content Negotiation in MVC 5 or How Can I Just Write JSON
Configuration
Gone are the days of web.config, XML transforms for deploying to environments. Now, as with many things in ASP.NET "vNext, you get more choice.
There are multiple file formats supported; XML, JSON, and INI are all supported out of the box. The other option is Environment variables, a characteristic of node.js as well as other frameworks.
Here is an example of how you can use the new ConfigurationModel to take advantage of the new confuration files.
config.json
{
	"key" : "value"
}

config.ini
key = value

config.xml
<key>
	<value>value</value>
</key>
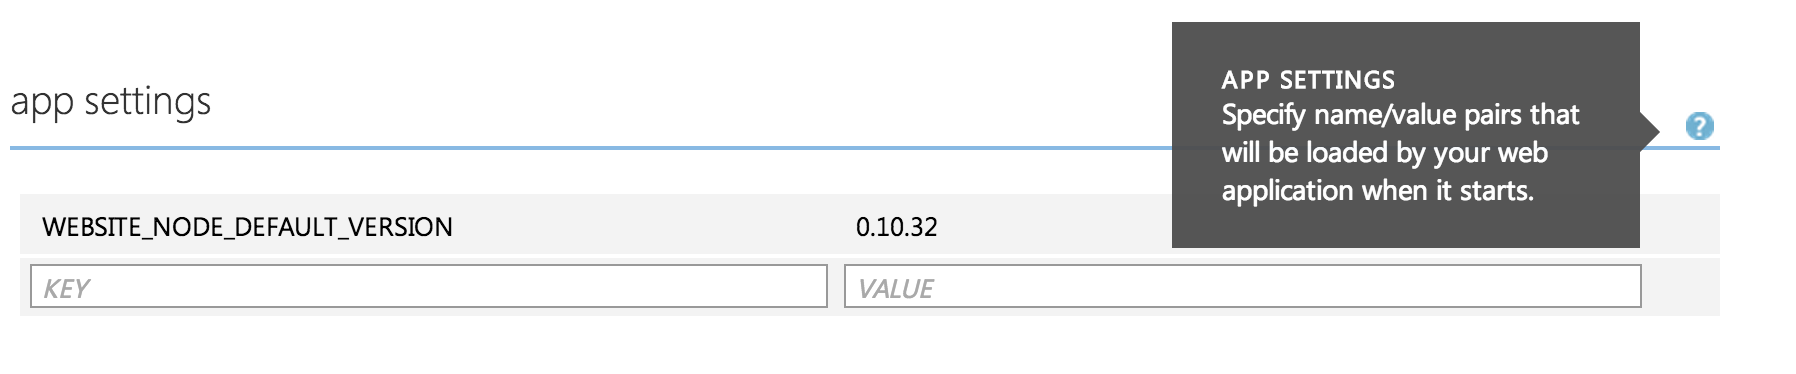
Environment variables in Azure
public void Configure(IApplicationBuilder app)
    {
        // Setup configuration sources
        var configuration = new Configuration();
        configuration.AddJsonFile(“config.json”);
        configuration.AddIniFile(“config.ini”);
        configuration.AddXmlFile(“config.xml”);
        configuration.AddEnvironmentVariables();

        // …
    }
Accessing the values
var configuration = new Configuration();
configuration.AddJsonFile("config.json);
configuration.Get("key");
A couple notes concerning configuration:
- order matters, last one wins
- not just a key/value pair. Complex structures supported
So how does this apply to this project? Let's add it to the Startup.cs.
Add the following to constructor
public Startup()
{
	Configuration = new Configuration()
		.AddJsonFile("config.json")
		.AddEnvironmentVariables();
}
Next, add the IConfiguration interface so we can take advantage of DI
public IConfiguration Configuration { get; set; }
Another new item we have is the the IOptions interface which allows us to bind the configuration file to a class. This is available in the Microsoft.Framework.OptionsModel namespace. Given that, let's create a new class call Settings.cs to hold the values from the config.json file we'll be creating shortly.
public class Settings
{
	public string Database { get; set; }
	public string MongoConnection { get; set; }
}
now create the config.json file
{
    "mongoconnection": "mongodb://localhost:27017",
    "database":  "mongomvc"
}
Now, add the code to the ConfigureServices() method
First, change the services.AddMvc() to include our configuration
services.addMvc(Configuration)
now add this line to configure the settings to be configured and bind based on the configuration
services.Configure<Settings>(Configuration);
Now that the application is bootstrapped for Configuration, Dependency Injection, JSON formatting; let's get the datastore setup in MongoDB and then we'll come back to round out the app with the Controller, Model and DataRepository.
MongoDB
There are a few reasons I chose MongoDB for this example.
- its a popular NoSQL datastore
- has a nuget package for C#
- supported on Azure
- equal tooling support on OSX and Windows.
Installation
Installation is a breeze. If you are on OSX you can use HomeBrew to install by executing $ brew install mongodb, and if you are using Windows I would highly suggest using Chocolately to do the installation. Chocolately installs MongoDB, the shell and the Windows service and is equivalent to the OSX install with HomeBrew.
> choco install mongodb
Tools
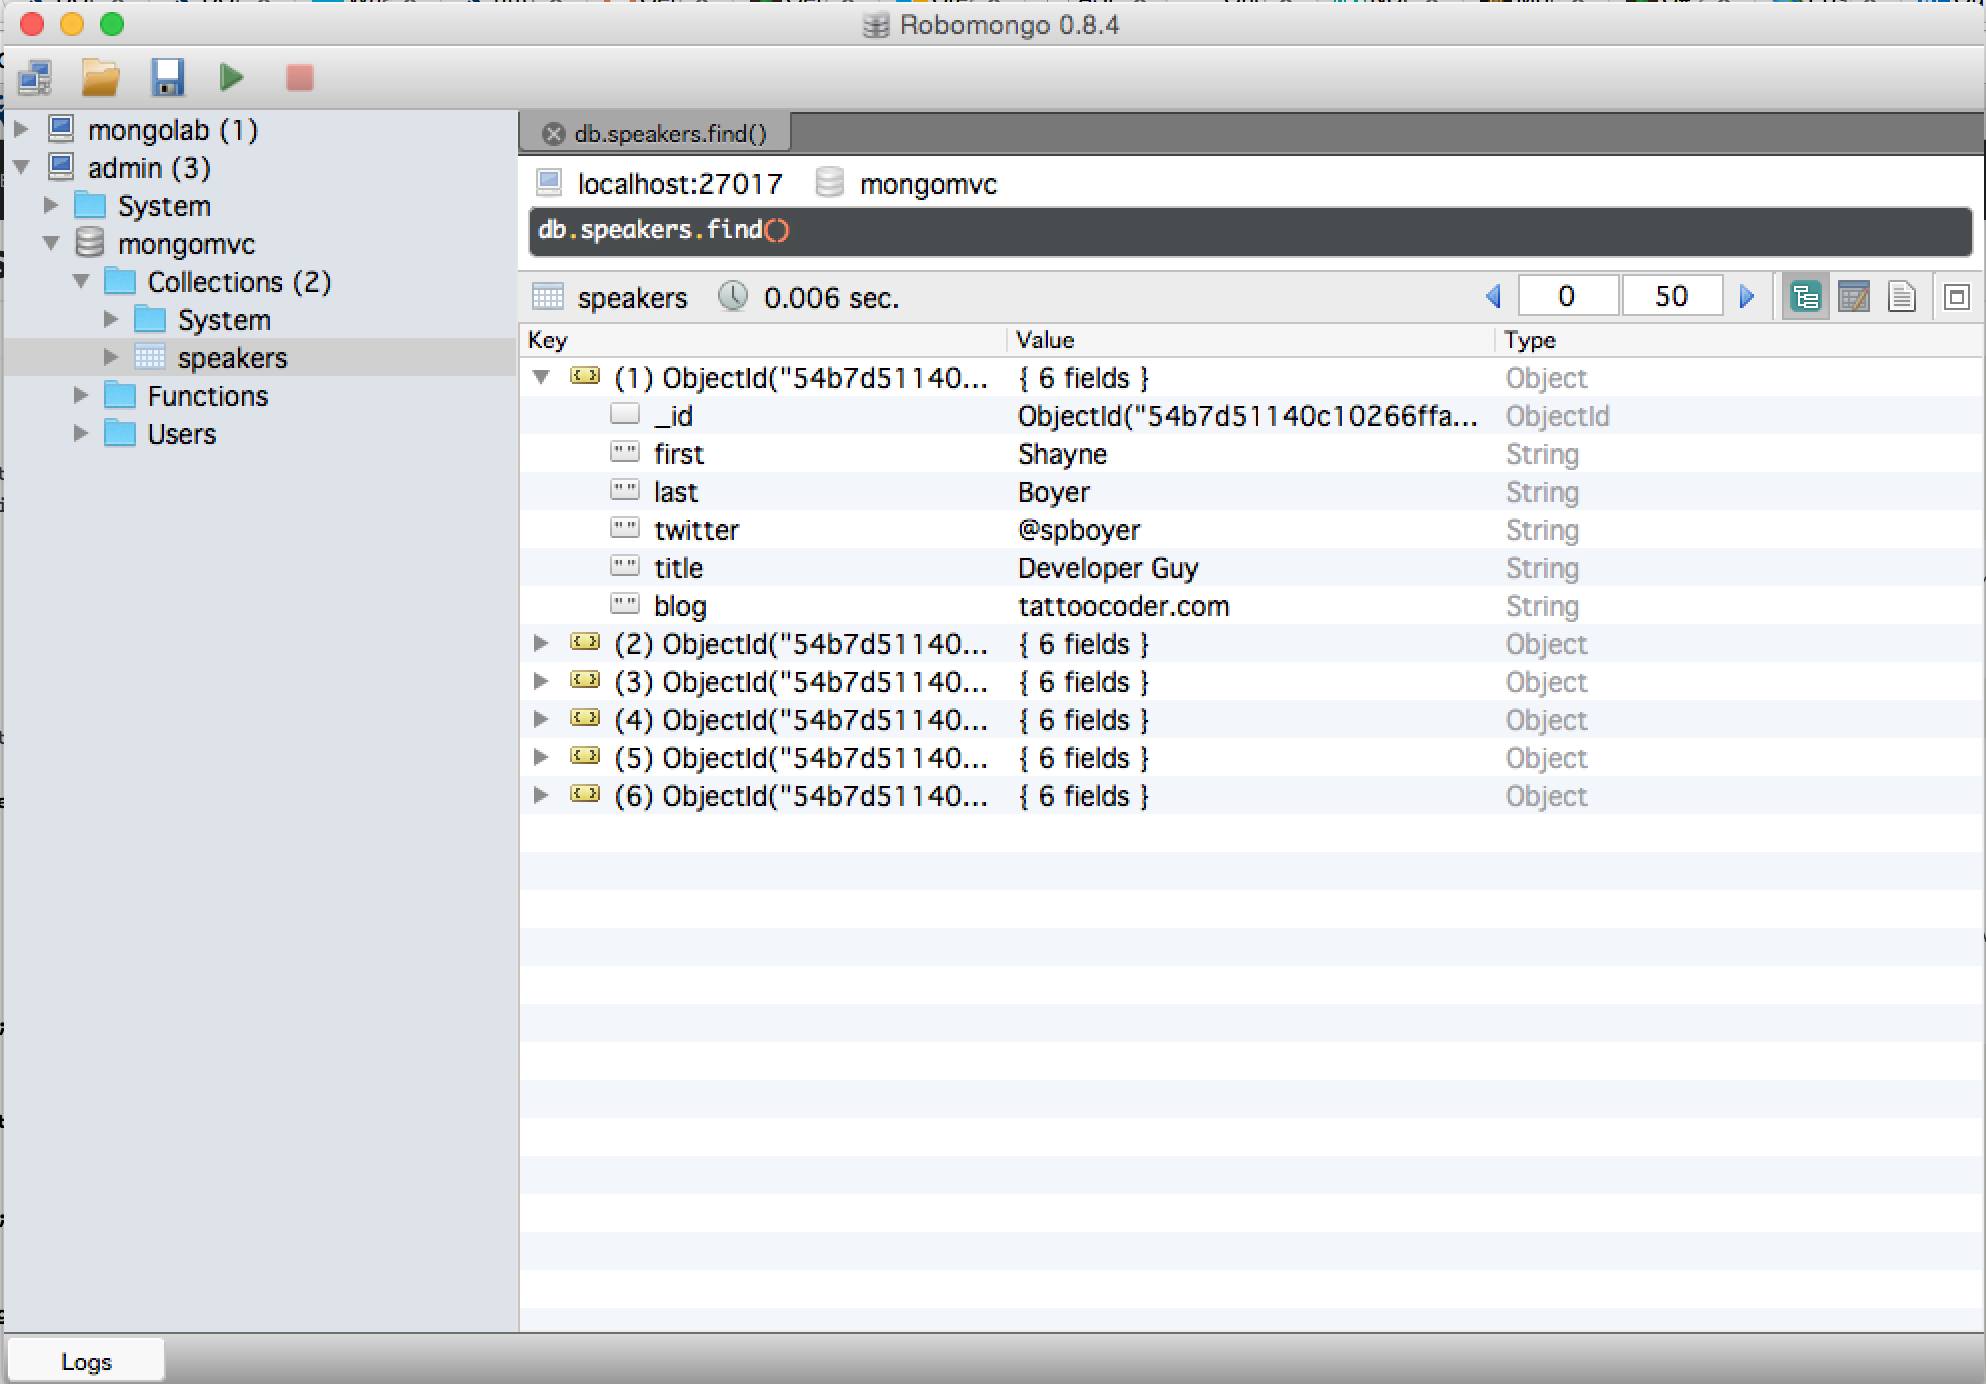
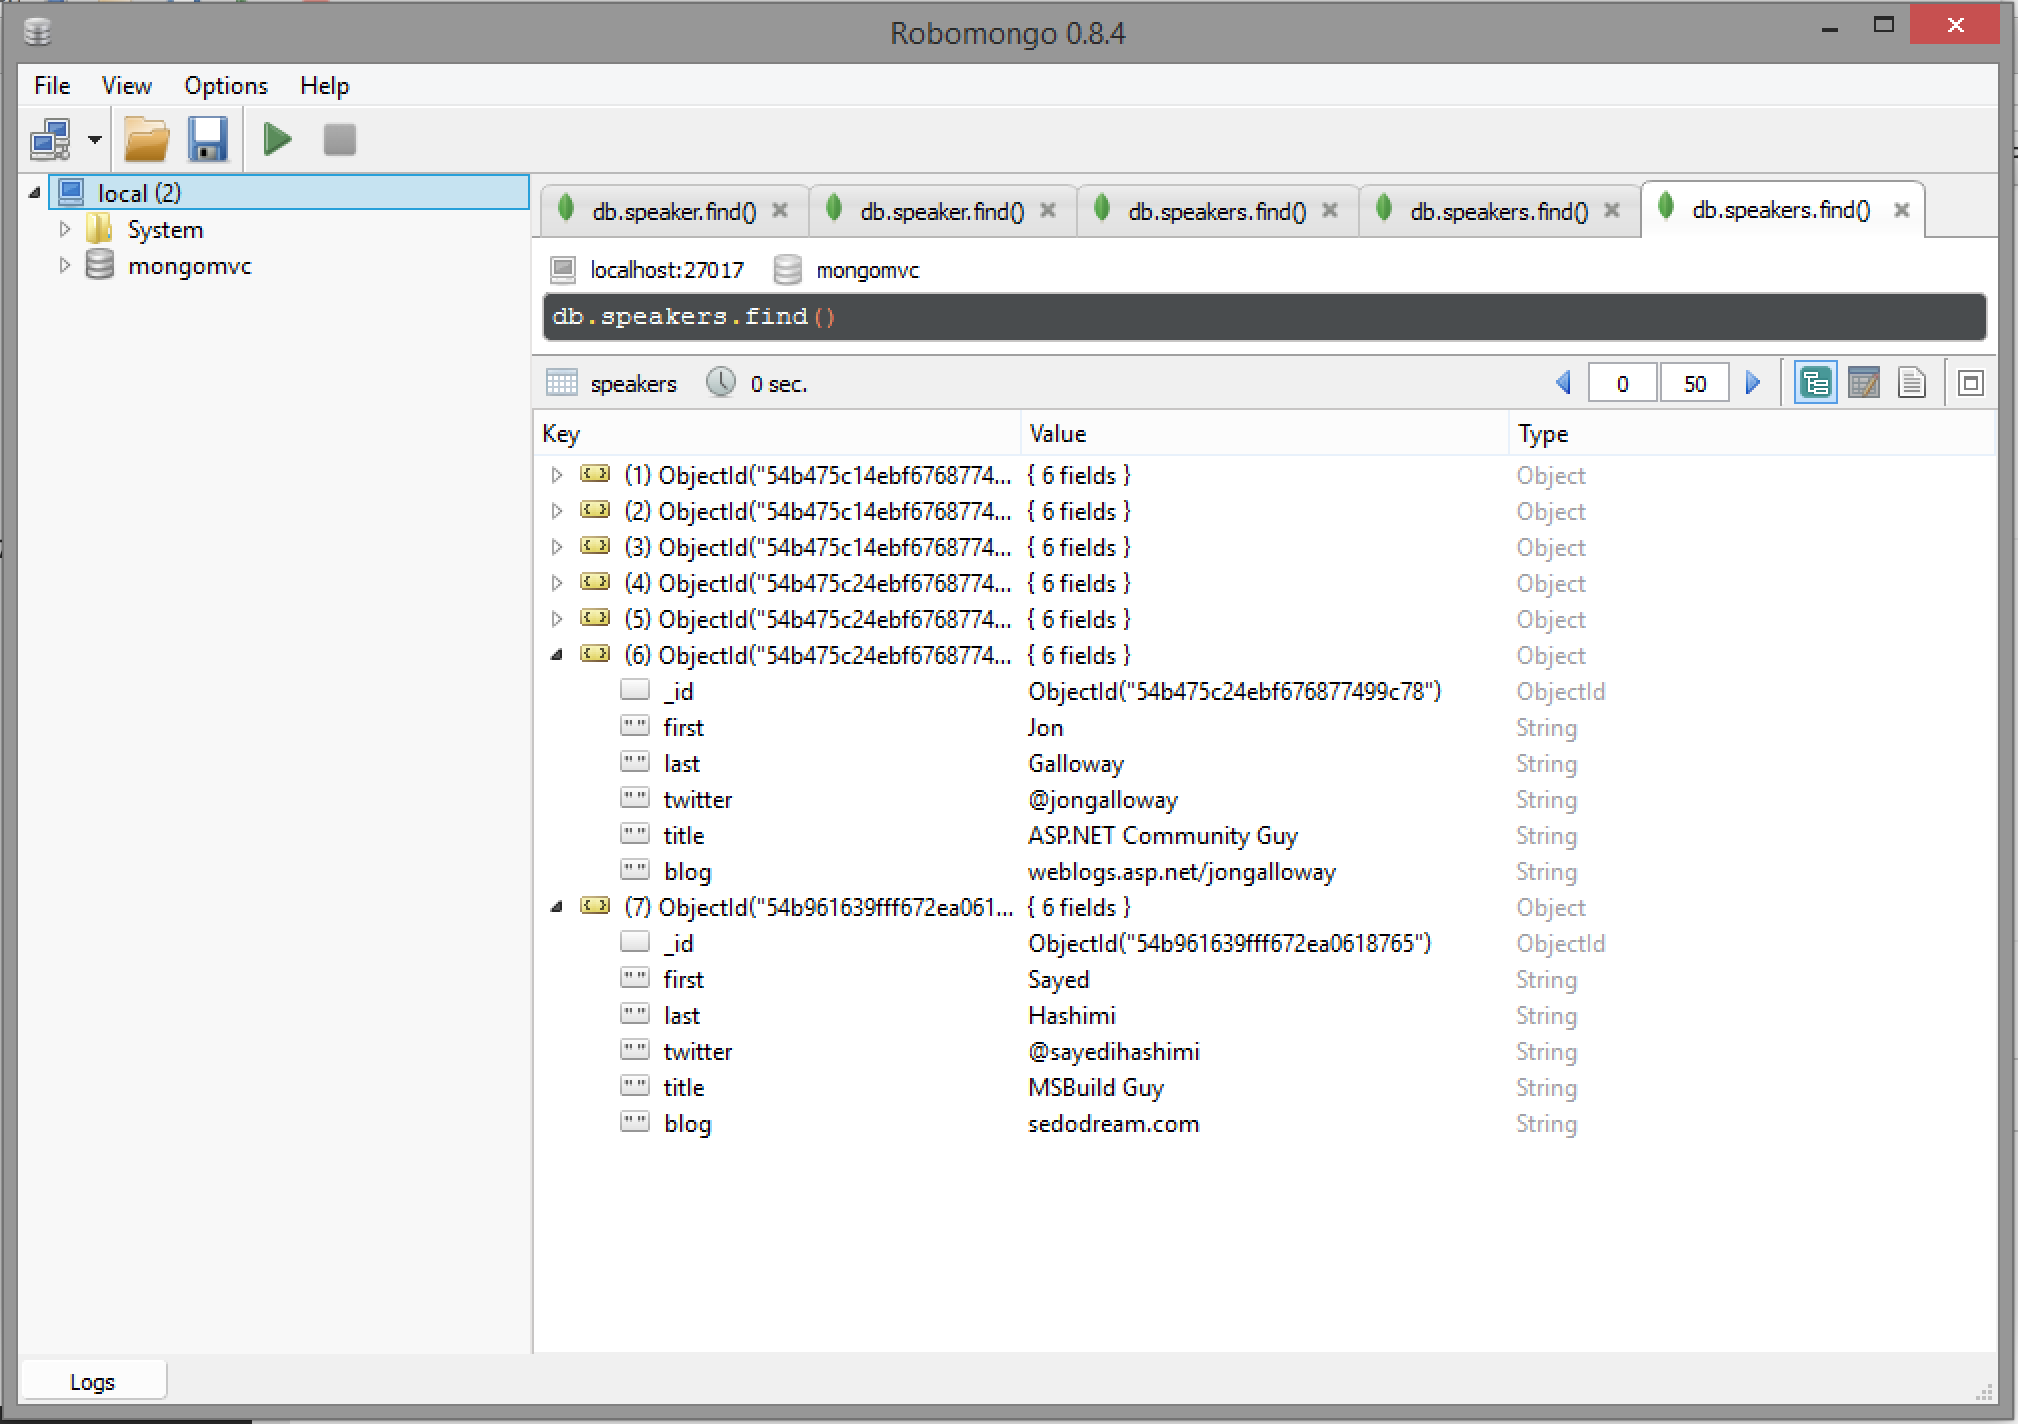
If you prefer GUI interfaces, the best one I have found is RoboMongo. It is cross platform and provides a great way to explore your collections. You can also connect to you local stores as well as remote stores such as MongoLab(Azure provider).
Test Data
Once you have installed MongoDB, open terminal and connect to the database by the following command
$ mongo mongomvc
mongo starts the terminal command, and the second paramter connects or creates the store. Next copy and paste the test data into the terminal and hit enter.
db.speakers.insert({
    first: 'Shayne',
    last: 'Boyer',
    twitter: '@spboyer',
    title: 'Developer Guy',
    blog: 'tattoocoder.com'
});

db.speakers.insert({
    first: 'Scott',
    last: 'Hanselman',
    twitter: '@shanselman',
    title: 'Teacher Blogger Guy',
    blog: 'hanselman.com'
});

db.speakers.insert({
    first: 'John',
    last: 'Papa',
    twitter: '@john_papa',
    title: 'JavaScript Angular Guy',
    blog: 'johnpapa.net'
});

db.speakers.insert({
    first: 'Mads',
    last: 'Kristensen',
    twitter: '@mkristensen',
    title: 'Web Essentials Guy',
    blog: 'about.me/madskristensen'
});

db.speakers.insert({
    first: 'Damian',
    last: 'Edwards',
    twitter: '@DamianEdwards',
    title: 'ASP.NET Demo Guy',
    blog: 'damianedwards.wordpress.com'
});

db.speakers.insert({
    first: 'Jon',
    last: 'Galloway',
    twitter: '@jongalloway',
    title: 'ASP.NET Community Guy',
    blog: 'weblogs.asp.net/jongalloway'
});
This creates all of the data in the mongomvc datastore under the speakers collection. You can see the data by querying in terminal or viewing in RoboMongo.
$ db.speakers.find()
Adding the Model
Add the Models folder under the root, and a Speaker.cs file.
using the yeoman generator generator-aspnet you can add a class with
$ yo aspnet:Class Speaker
    public class Speaker
    {
        public ObjectId Id { get; set; }

        [BsonElement("first")]
        public string First { get; set; }

        [BsonElement("last")]
        public string Last { get; set; }

        [BsonElement("twitter")]
        public string Twitter { get; set; }

        [BsonElement("title")]
        public string Title { get; set; }

        [BsonElement("blog")]
        public string Blog { get; set; }

    }
A few things to point out in this class is the attribute annotations
[BsonElement("first")]
These are neccessary for the binding because the mongo nuget package binding serialization is case sensitive.
Adding the Repository
Add the SpeakerRepository.cs class, in this case just under the root.
using the yeoman generator generator-aspnet you can add a class with
$ yo aspnet:Class SpeakerRepository
The interface is simple
public interface ISpeakerRespository
{
	IEnumerable<Speaker> AllSpeakers();

	Speaker GetById(ObjectId id);

	void Add(Speaker speaker);

	void Update(Speaker speaker);

	bool Remove(ObjectId id);
}
And implement the interface. In the constructor, we'll take advantage of DI and get the Settings class that contains the connection information for the MongoDB instance. This is accessed from IOptions
public SpeakerRepository(IOptions<Settings> settings)
{
	_settings = settings.Options;
    _database = Connect();
}
Here is the complete class implementation.
public class SpeakerRepository : ISpeakerRespository
{
  private readonly Settings _settings;
  private readonly MongoDatabase _database;

  public SpeakerRepository(IOptions<Settings> settings)
  {
    _settings = settings.Options;
    _database = Connect();
  }

  public void Add(Speaker speaker)
  {
  	_database.GetCollection<Speaker>("speakers").Save(speaker);
  }

  public IEnumerable<Speaker> AllSpeakers()
  {
    var speakers = _database.GetCollection<Speaker>("speakers").FindAll();
    return speakers;
  }

  public Speaker GetById(ObjectId id)
  {
    var query = Query<Speaker>.EQ(e => e.Id, id);
    var speaker = _database.GetCollection<Speaker>("speakers").FindOne(query);

    return speaker;
  }

  public bool Remove(ObjectId id)
  {
    var query = Query<Speaker>.EQ(e => e.Id, id);
    var result = _database.GetCollection<Speaker>("speakers").Remove(query);

    return GetById(id) == null;
  }

  public void Update(Speaker speaker)
  {
    var query = Query<Speaker>.EQ(e => e.Id, speaker.Id);
    var update = Update<Speaker>.Replace(speaker); // update modifiers
    _database.GetCollection<Speaker>("speakers").Update(query, update);
  }

  private MongoDatabase Connect()
  {
    var client = new MongoClient(_settings.MongoConnection);
    var server = client.GetServer();
    var database = server.GetDatabase(_settings.Database);

    return database;
  }
}
Add the SpeakerRepository to ServiceCollection
Open Startup.cs and add the following to the ConfigureServices() method to setup the ISpeakerRepository for DI so it can be injected into the SpeakerController.
services.AddSingleton<ISpeakerRespository, SpeakerRepository>();
options on Dependency Injection
- .AddTransient - whenever I ask for it give me a new one
- .AddLifetime - scoped to the current request, regardless of how many times it's asked for
- .AddSingleton - one ever
Adding the Controller
Add the Controllers folder under the root, and the add a MVC Controller named SpeakerController.cs
using the yeoman generator generator-aspnet you can add a MVC Controller with
$ yo aspnet:MvcController SpeakerController
In the constructor, add the ISpeakerRepository so we have access to the datastore calls.
readonly ISpeakerRespository _speakerRepository;
public SpeakerController(ISpeakerRespository speakerRepository)
{
	_speakerRepository = speakerRepository;
}
Add a default GET to return all of the speakers
[HttpGet]
public IEnumerable<Speaker> GetAll()
{
	var speakers = _speakerRepository.AllSpeakers();
	return speakers;
}
Add a GET to return a specific speaker. In this case the ObjectId string, the default key from MongoDB, is used. As such as route constraint is added to validate the length of the string being passed. {id:length(24)} and a RouteName is added so we can call this by route by name using Url.RouteUrl().
[HttpGet("{id:length(24)}", Name = "GetByIdRoute")]
public IActionResult GetById(string id)
{
	var item = _speakerRepository.GetById(new ObjectId(id));
	if (item == null)
	{
		return HttpNotFound();
	}

	return new ObjectResult(item);
}
Add a Create method, with a [FromBody] attribute on the argument to indicate that the object should be serialized from the body of the message.
[HttpPost]
public void CreateSpeaker([FromBody] Speaker speaker)
{
  if (!ModelState.IsValid)
  {
  	Context.Response.StatusCode = 400;
  }
  else
  {
  	_speakerRepository.Add(speaker);

  	string url = Url.RouteUrl("GetByIdRoute", new { id = speaker.Id.ToString() }, Request.Scheme, Request.Host.ToUriComponent());
  	Context.Response.StatusCode = 201;
  	Context.Response.Headers["Location"] = url;
  }
}
Finally, the Delete to round out the repository functions.
[HttpDelete("{id:length(24)}")]
public IActionResult DeleteSpeaker(string id)
{
  if (_speakerRepository.Remove(new ObjectId(id)))
  {
  	return new HttpStatusCodeResult(204); // 204 No Content
  }
  else
  {
  	return HttpNotFound();
  }
}
Testing
Some Various tools are available for testing HTTP services. Fiddler from Telerik is a favorite if you are on Windows, I also like the Postman Chrome Add-in. I happen to like either, Postman saves the urls you hit which is nice when are testing over and over or complex endpoints.
So, if you run the application now you can use the tool of your choice and hit the endpoint:
k web- http://localhost:5001/api/speakerk kestrel- http://localhost:5004/api/speaker- Visual Studio - http://localost:[randomPort]/api/speaker
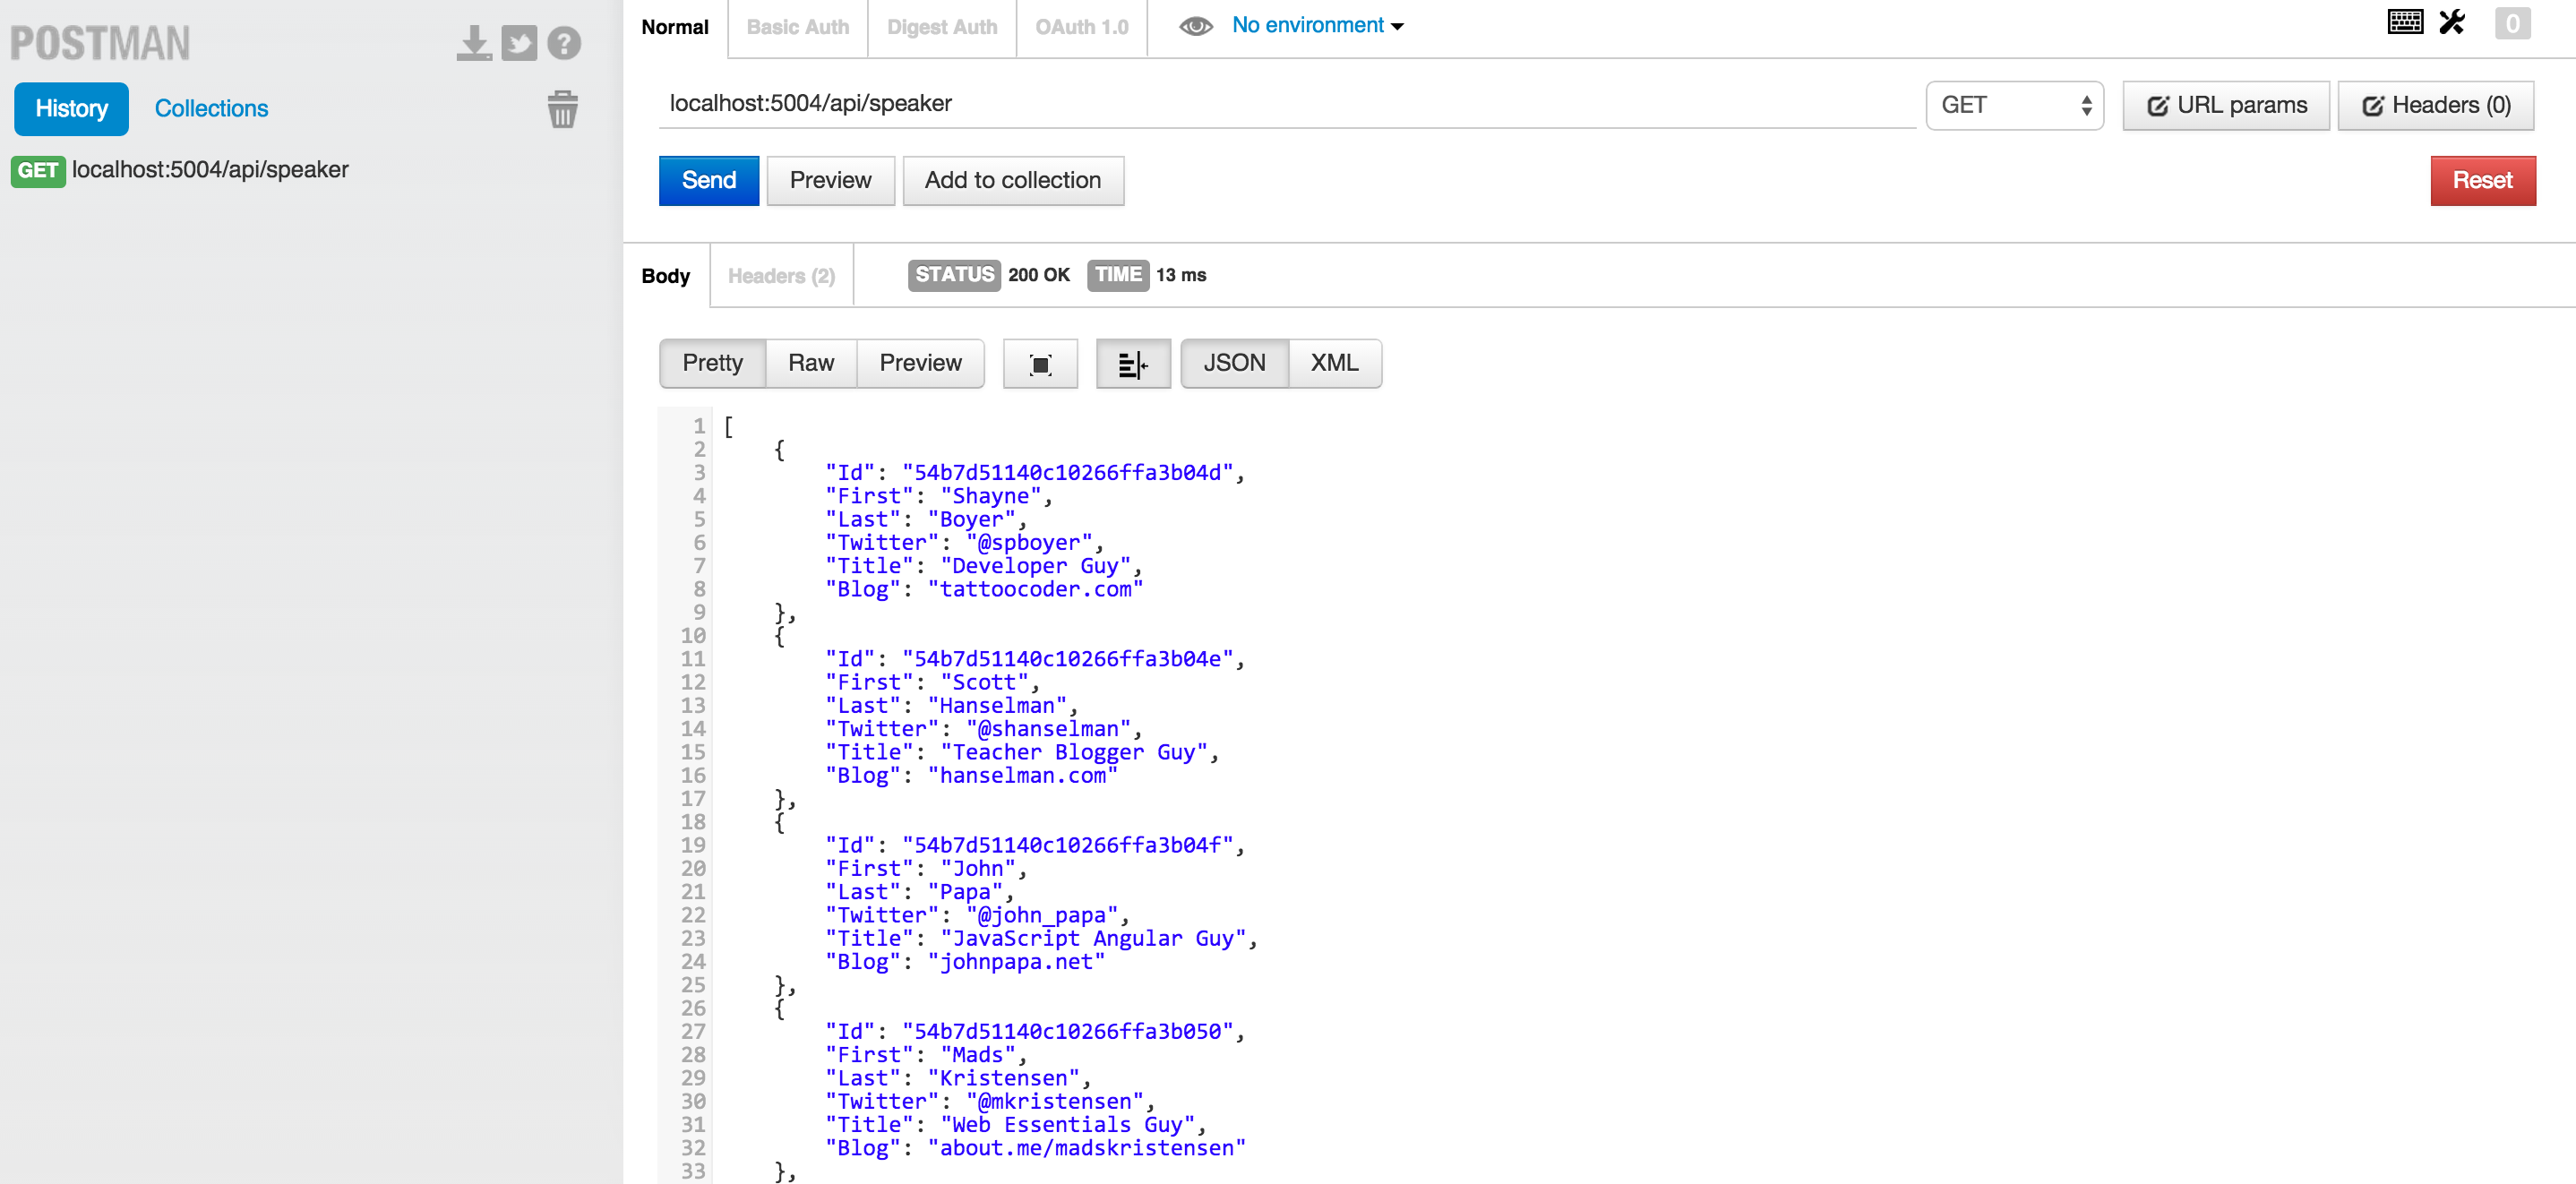
Select a specifid "Id" and add it the url, i.e.
http://localhost:5004/api/speaker/54b7d51140c10266ffa3b04d and a single item is returned.
{
    "Id": "54b7d51140c10266ffa3b04d",
    "First": "Shayne",
    "Last": "Boyer",
    "Twitter": "@spboyer",
    "Title": "Developer Guy",
    "Blog": "tattoocoder.com"
}
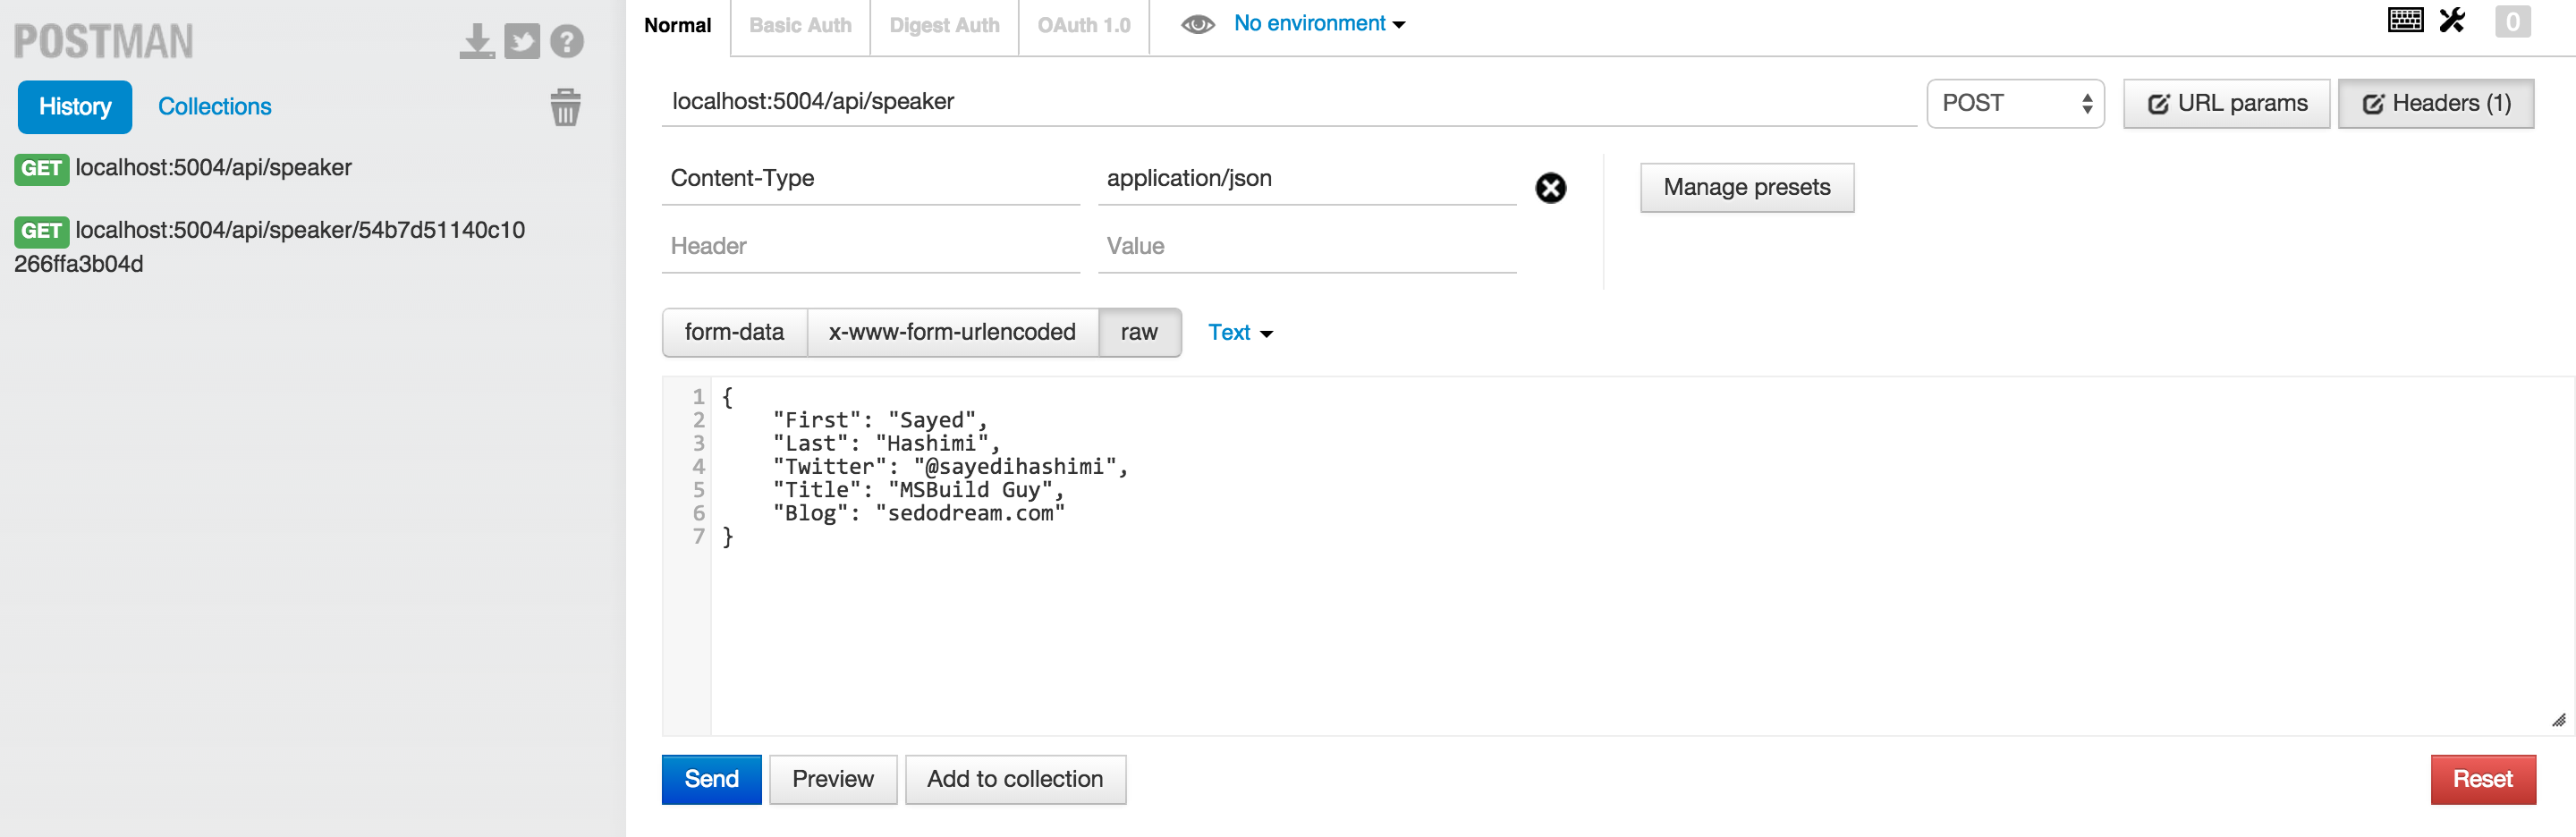
to test a POST or the Create endpoint, change the drop down to POST, select the RAW option and add the following data.
Also add the Content-Type: application/json header.
{
    "First": "Sayed",
    "Last": "Hashimi",
    "Twitter": "@sayedihashimi",
    "Title": "MSBuild Guy",
    "Blog": "sedodream.com"
}
After executing the POST you can either query the /speaker endpoint or look directly in the datastore and see the new speaker inserted.
Full source for this example is available on GitHub -> http://github.com/spboyer/mongomvc
Resources
C# and .NET MongoDB Driver - (docs.mongodb.org)
Content Negotiation in MVC 5 or How Can I Just Write JSON - (blogs.msdn.com)
ASP.NET Yeoman Generator Project Scaffolding - (tattoocoder.com)
ASP.NET - (asp.net)
ASP.NET Github - (github.com/aspnet/home)