Getting an application written is the first challenge, however having proper tests, running those tests in a continuous integration pipeline as well as deploying the application to your cloud host can be a task to setup.
Here is a quickstart to create an application using the angular-cli, using codeship to build and run the test using the angular-cli and the push to a website on Azure.
Using the angular-cli we can quickly create an application by executing the commands...
ng new quickstart-ng-cli
cd quickstart-ng-cli
ng serve
Once that is scaffolded out, create your GitHub repo and check in the source.
For a full angular-cli walk through look at my post Angular 2: A Re-Quickstart using the CLI
Codeship
Go to codeship.com and login with your github account.
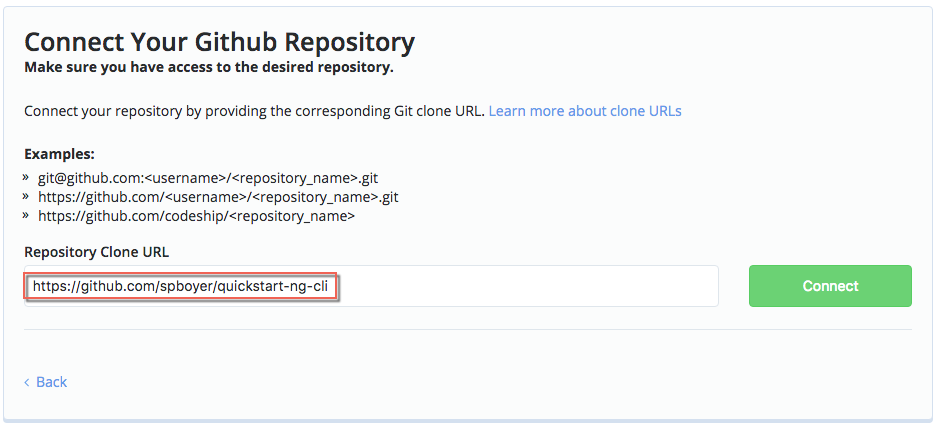
Create a new project, and link your github repo just created.
Next, configuring the tests setup.
Select "I want to create my own commands", and use the following script.
#install node version, 4.x is required for the angular-cli
nvm install 4.1

#install angular-cli
npm install angular-cli

#run npm install for your project dependencies
npm install
Under that script is the "Test Pipelines", where the script is setup to run the tests.
#serve the application adding '&' to run command in background
ng serve &

#start end to end tests using protractor
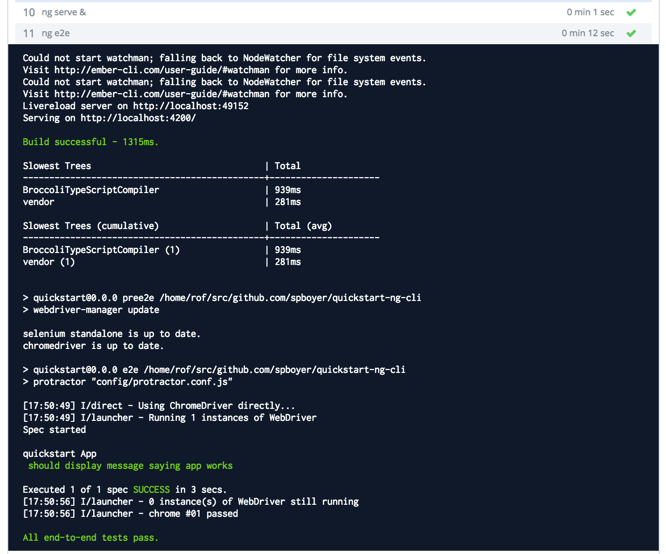
ng e2e

#if all of the tests pass, then build the production assets
ng build -prod
Click Save and go to dashboard.
At this point, your repo should be able to be cloned built and test run. You can trigger the build be doing a commit.
Publishing to a Azure Website
For getting started with Azure, go to http://azure.com
Setting up the Azure Site
Create a new web app
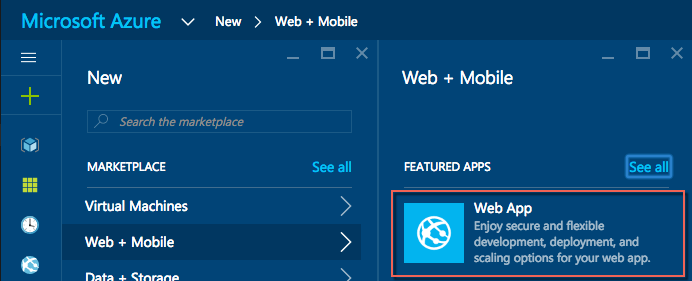
Configure it to use a Local Git Repository. We'll use this to publish to from Codeship.

The git clone url is in the Summary or Details of the application, this is the address we will need when setting up the Continuous Deployment script.

Finally, setup the username and password for the site in the deployment credentials sections.

Once all of these steps are complete, the Azure website is setup and we can go back to Codeship to create the Continuous Deployment Script.
Codeship
Select the "Set up Continuous Deployment" option.

There are a number of choice of deployment options here, but not Azure. So in this case we will be selecting a $ Custom Script.
Use the following script.
#Set your git user information
git config user.email "[email protected]"
git config user.name "Your Name"

# $AZURE_REPO_URL needs to be set in your projects Variables section
# and include both username and password, e.g: https://username:[email protected]:443/site.git

# Clone Azure repository
git clone $AZURE_REPO_URL ~/azure

# change into the local azure directory
cd ~/azure

# delete local repository azure contents
rm -rf *

# Copy /dist folder contents (our application)
cp -rf ~/clone/dist/* .

git add -A
git commit --all --author "$CI_COMMITTER_NAME <$CI_COMMITTER_EMAIL>" --message "$CI_MESSAGE ($CI_BUILD_URL)"

# Push changes to Azure
git push origin master
There is an ENVIRONMENT variable that needs to be set in Codeship for this project. You will need to set the AZURE_REPO_URL for the Azure website.

The format for the url will be:
https://username:password@site.scm.azurewebsites.net:443/site.git
If you have any special characters in your password, be sure to escape them with \ .
Testing Deployment
Select your project (top right of the screen), and you'll see the list of the builds. Trigger the build again by clicking the circular arrow. and then selecting/clicking the "row" of that build to see the output.
Once the build starts, the output from the build and test will show in the console, and any Azure related commands will echo as well as remote:
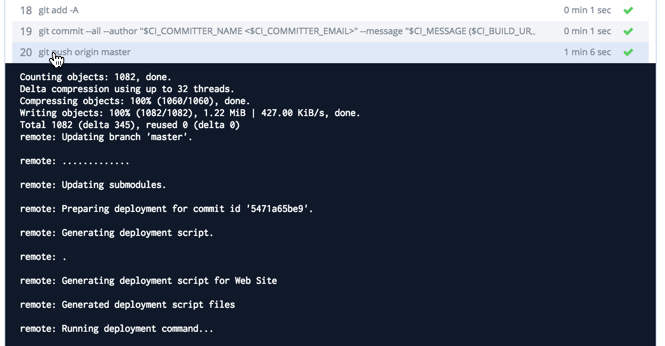
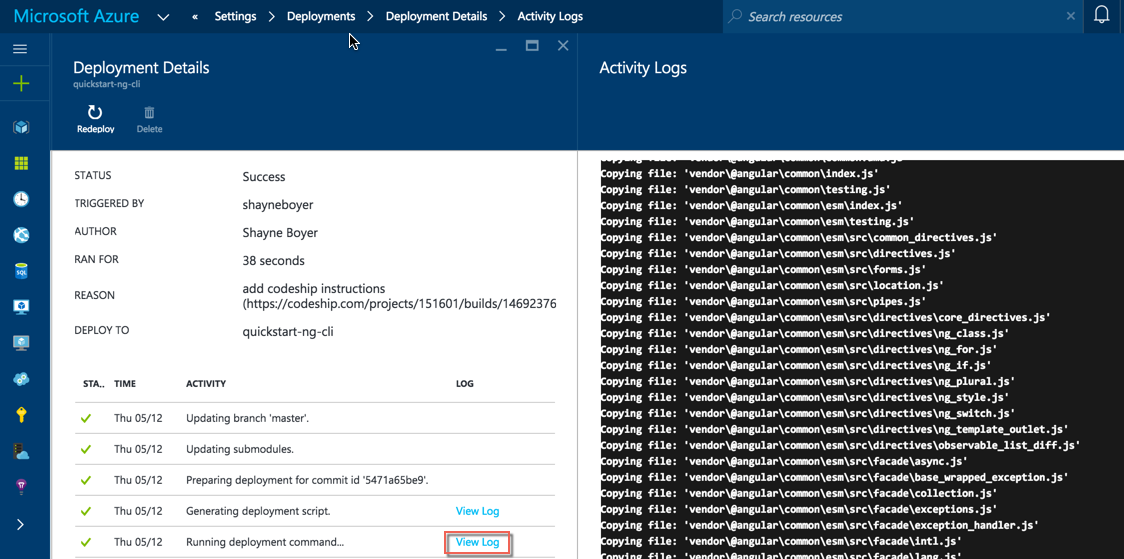
If you go to the Azure Portal and navigate to
yourapp > Settings > Deployments > Deployment Details
and select a log, you'll see the same info that was in the codeship output.
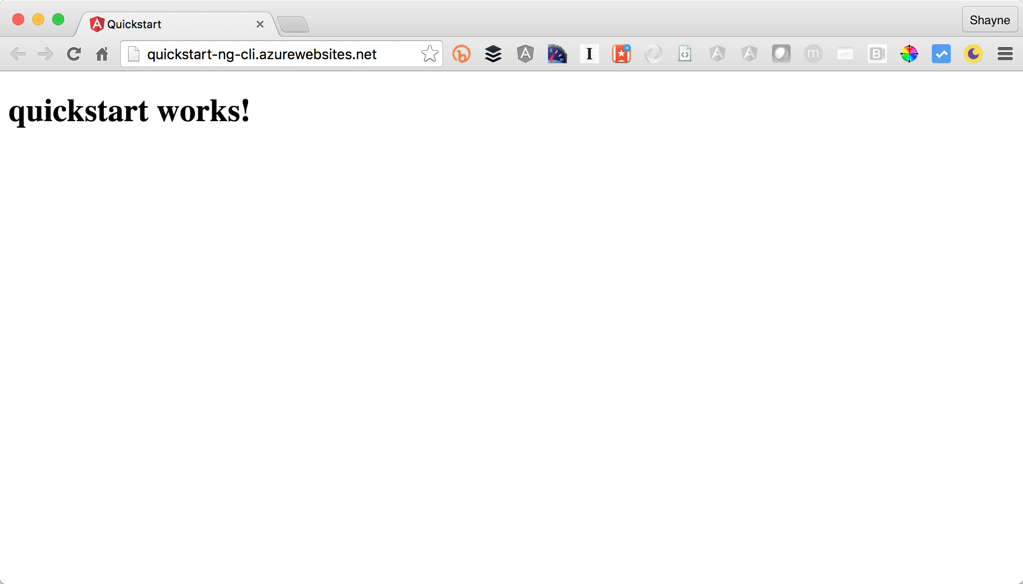
When the deployment is complete, click on the website url and you'll be presented with the application.
Enjoy!
Github repo for these : https://github.com/spboyer/quickstart-ng-cli
